Gmail Configuration
To configure Email Module, open WordPress Admin Dashboard, and navigate to Support > Configuration > Email.
Select Google from the list of providers and click Set Provider.
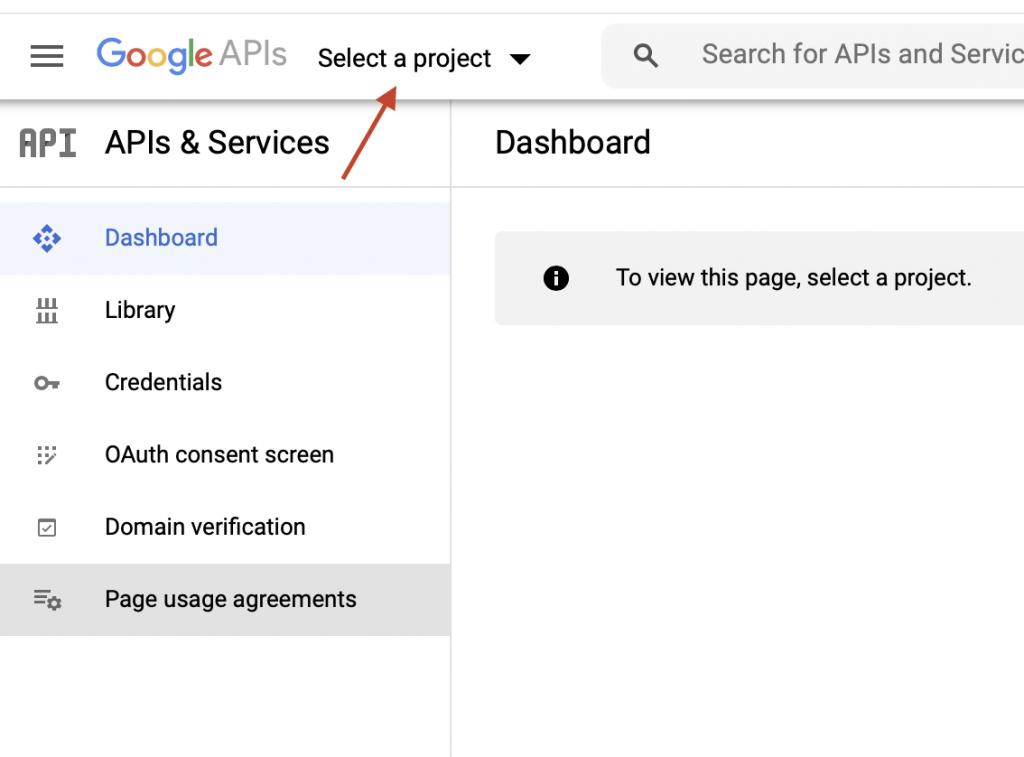
In the new browser tab, navigate to Google Console and sign in to your Google account. Agree with Terms of Service and press Agree and Continue. Open Select a project dropdown at the top of the screen and click New Project.
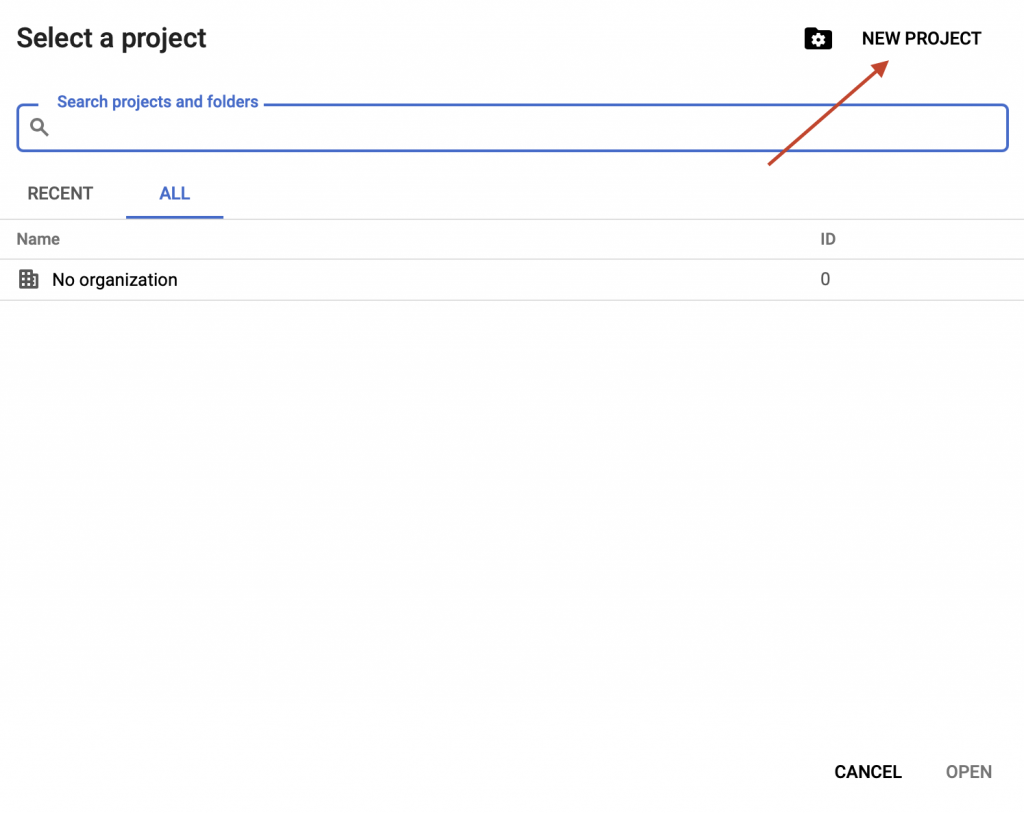
Name your project and press Create.
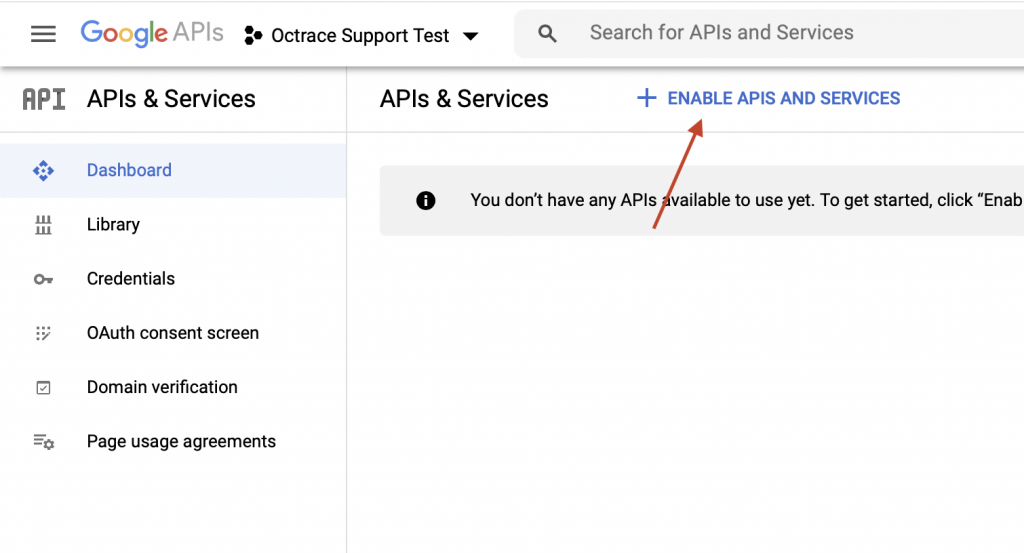
Click on Enable APIs and Services button.
Enter Gmail in the search field and click on it in the results list.
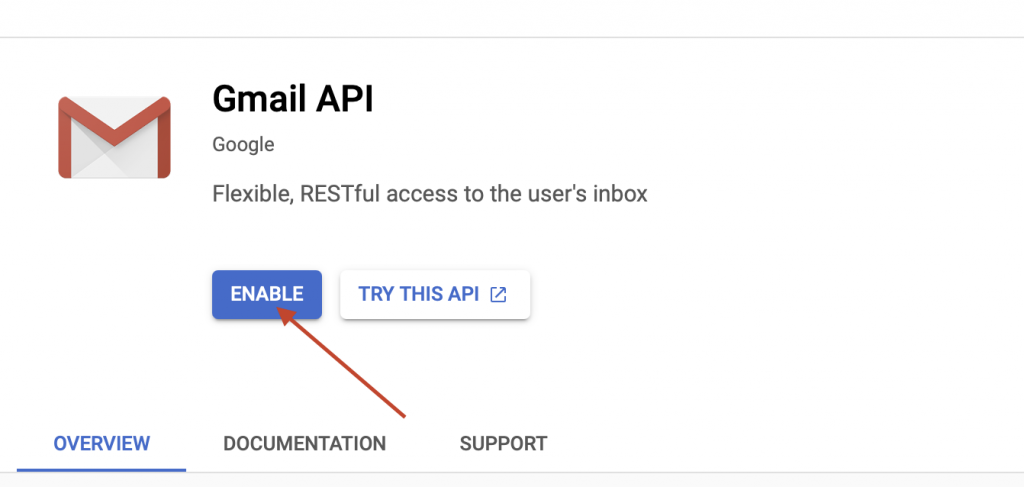
Press Enable Button.
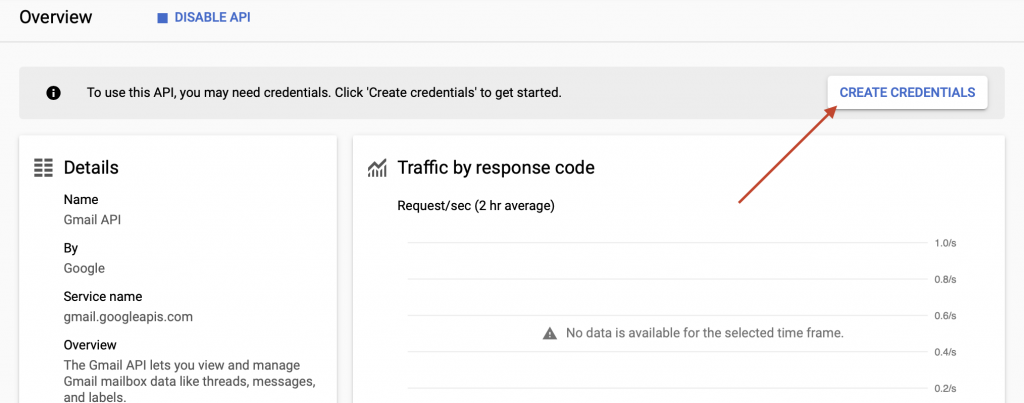
Click on Create Credentials Button.
In the next page, you’ll be asked a few questions to help Google determine the credentials you need. Here’s how you should answer each question:
- Which API are you using? Gmail API
- Where will you be calling the API from? Web server (e.g. node.js, Tomcat)
- What data will you be accessing? User data
Once you’ve answered these questions, click the What credentials do I need? button. After clicking this button, Google will show a popup asking you to set up a consent screen. Go ahead and click on the Set Up Consent Screen Option. Choose External User Type and press Create.
Fill App name, User support email, and Email addresses with any that feels logical to you and press Save and Continue. You can skip the Scopes and Optional info sections, just click Save and Continue. At the bottom of the summary section press Back to Dashboard.
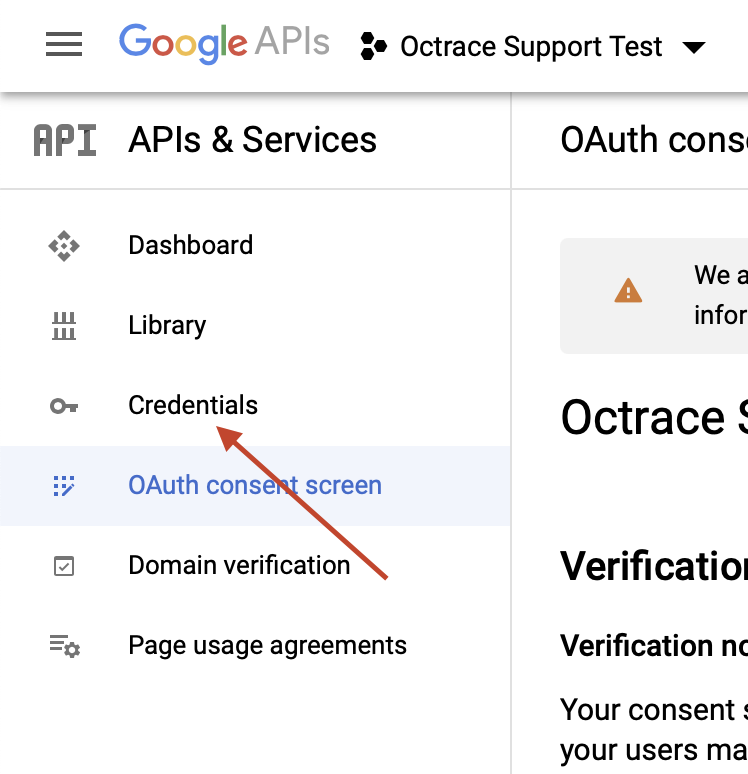
Open the Credentials tab in the sidebar.
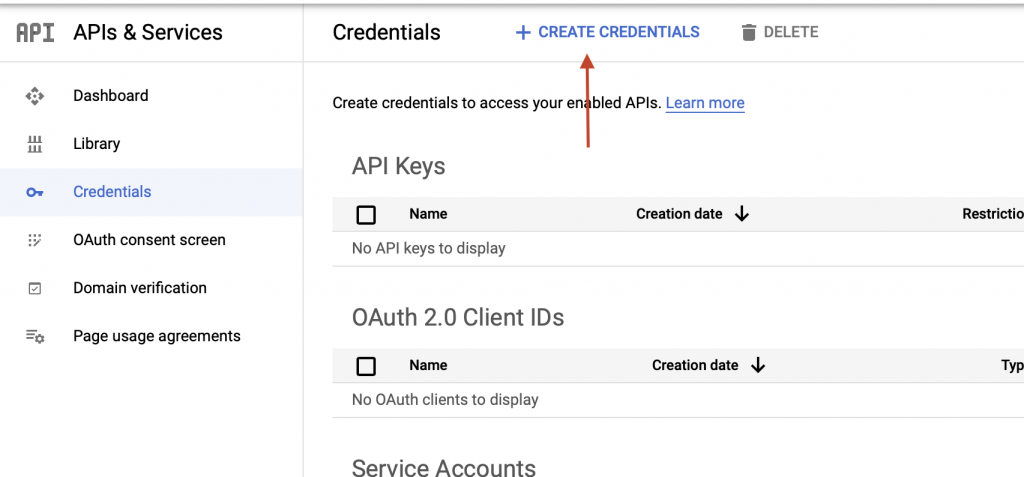
Press Create Credentials > OAuth client ID.
Choose Web Application application type. Now we need to fill the Authorized redirect URIs field. To get the URI for your site, you’ll need to go back to the tab or window with your WordPress site. Look at the bottom of Gmail Settings for the link Copy Redirect URI and click on it to copy.
Now return to the Google APIs page and paste it into the field under Authorized redirect URIs. You’ll see a popup with your credentials (Client ID and Client Secret) copy and paste them into appropriate fields at the Email Configuration page after that, fill the Email Address field with your Gmail account email, and click Submit.
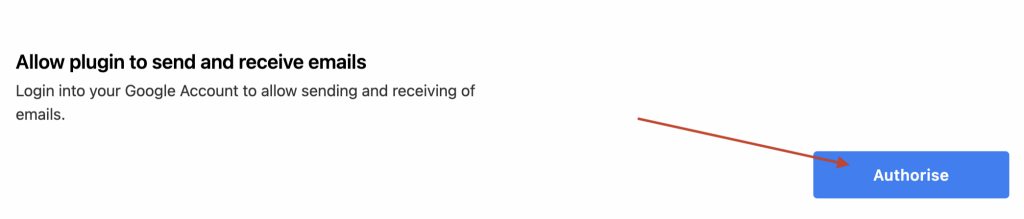
Now at the end of the Email Configuration Page, click Authorise and Sign-in into your Google account.
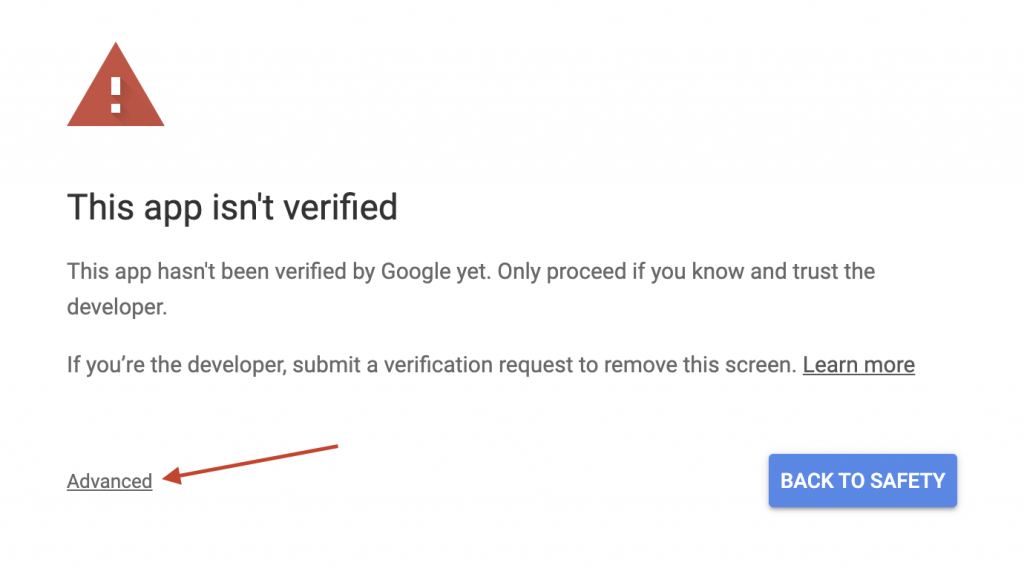
Click Advanced and then Proceed.
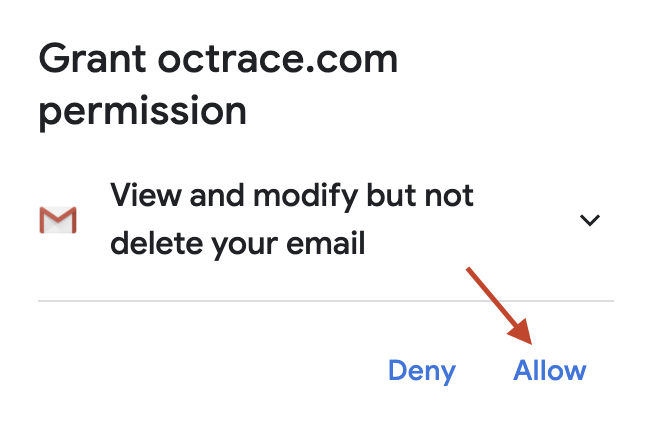
Allow your website to view and modify your email, then press Allow once again.
After that, you will be redirected to the Email Configuration page. To test Email Module click Send Email button at the very bottom of the page. Then you will receive a message to the email address of your current WordPress profile.